Power Bench Track Restoration
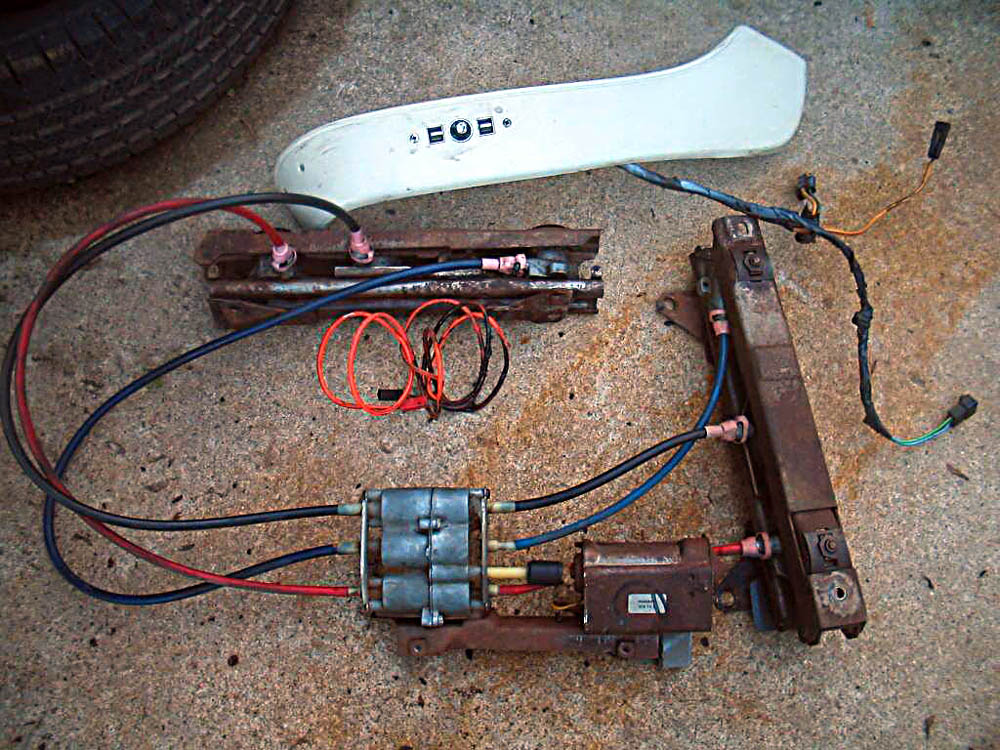
Not the greatest starting point, but unit was purchased at a very fair price, and complete with the exception of the plastic trim needed for a manual bench conversion.
Was told the unit didn't lift in the rear. Dis-assembly will tell the story.
Thankfully this unit came with the thicker plastic ends. Hopefully they will not crack when removing.
Sqeeze the wide part gently and do not force!

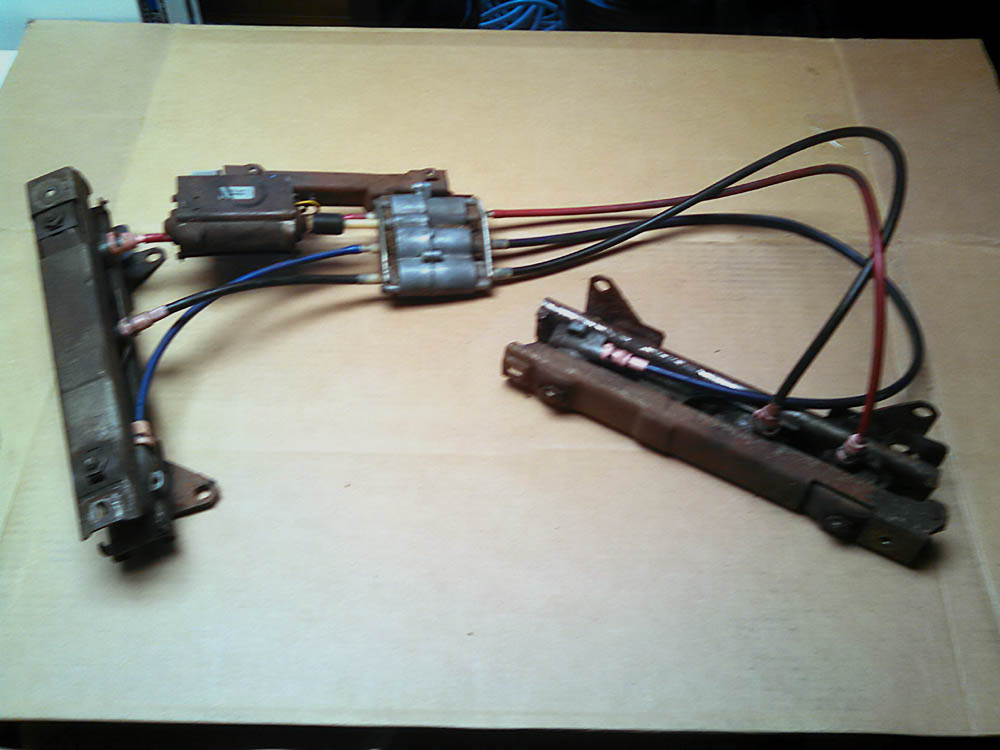
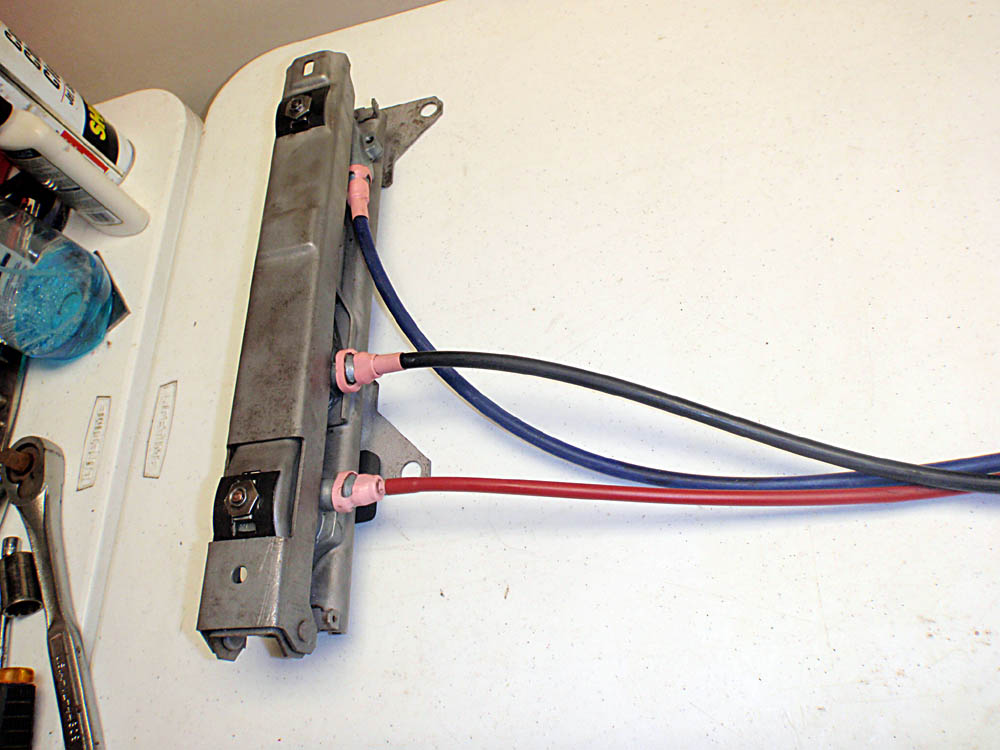
Cables all removed safely, and on to disassembling all mechanical parts...
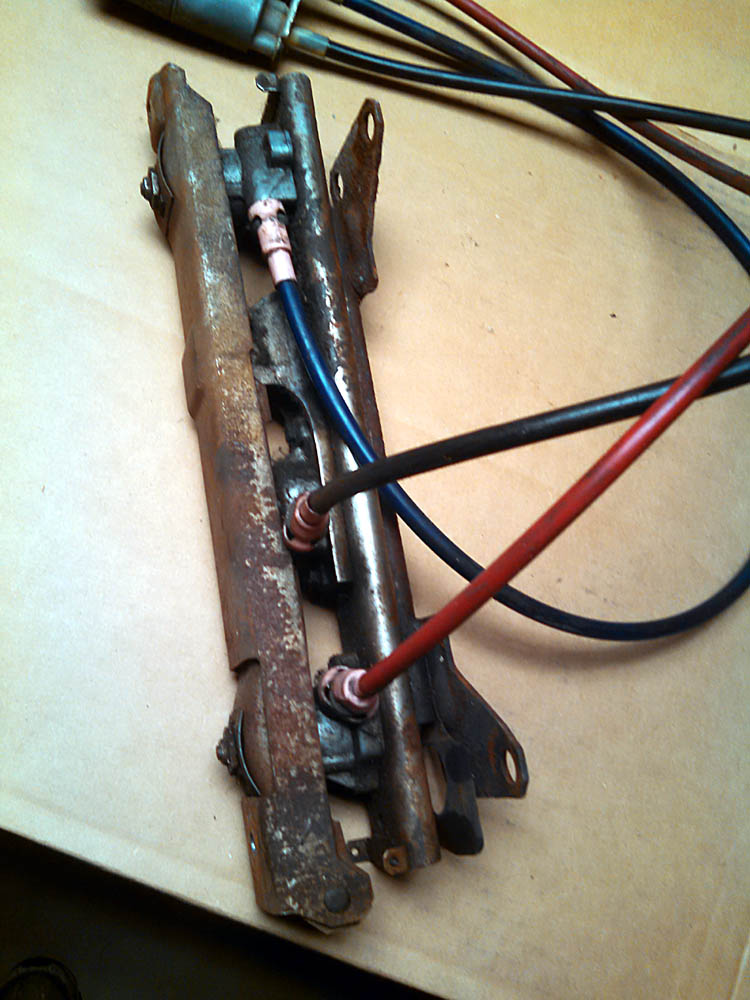
I was wondering why the tracks would not stand up on their own... The feet are badly twisted. Glad they are still very solid.
Same on the other side... Looks like someone tried to remove the seat at some point without taking all the bolts off....
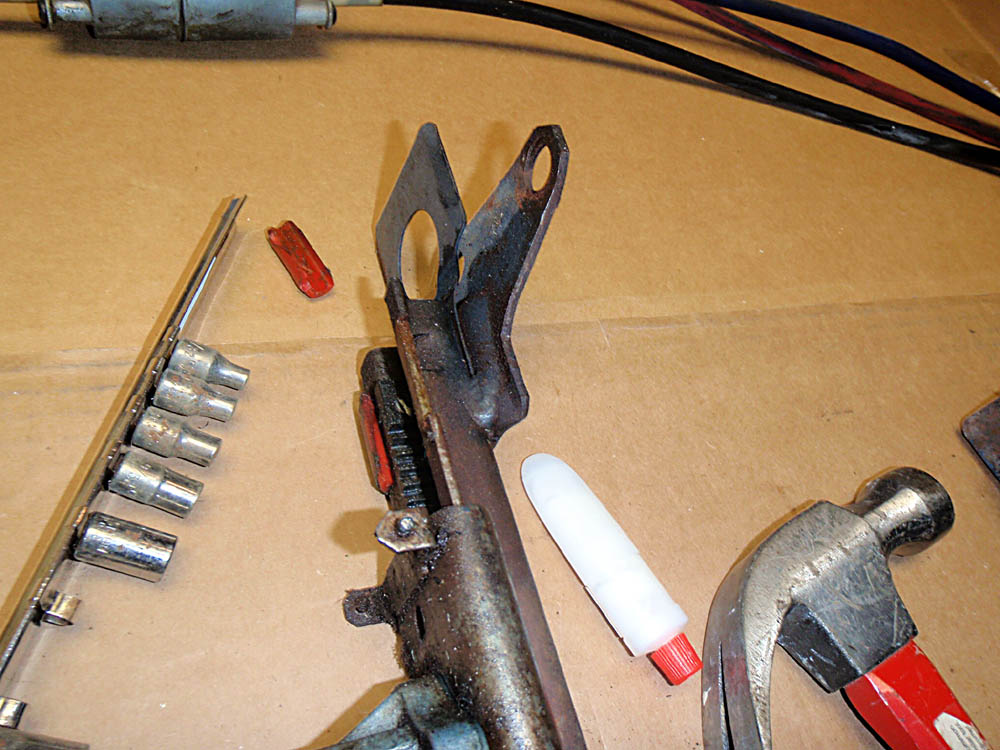
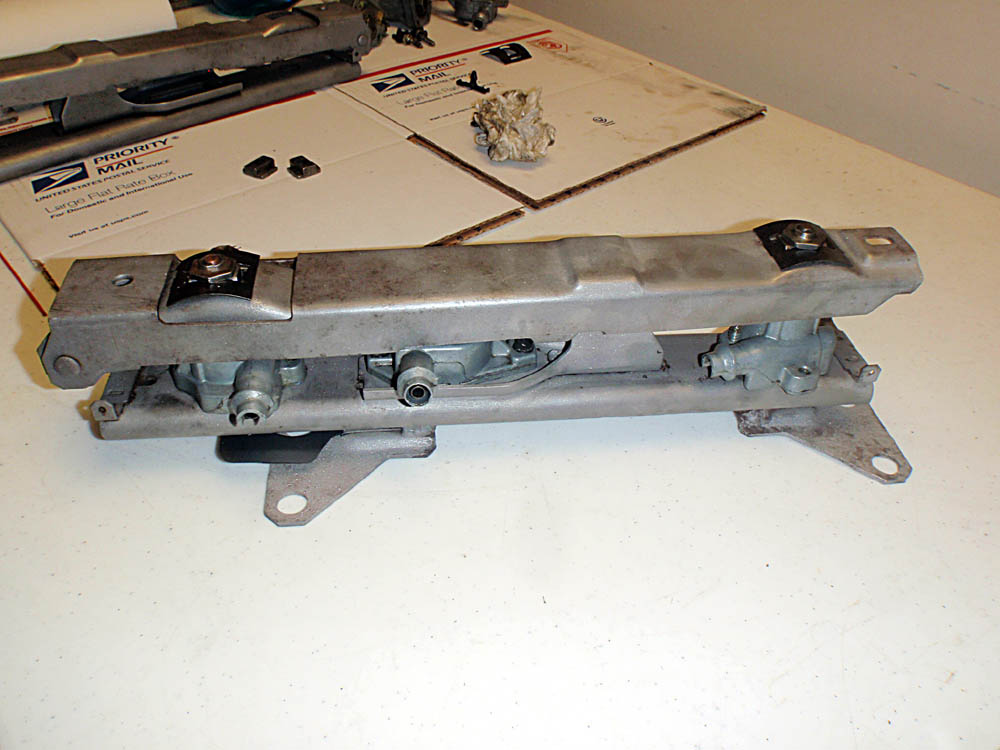
Time to take the tracks apart... Start with the bolts up top that hold the spring clips down.
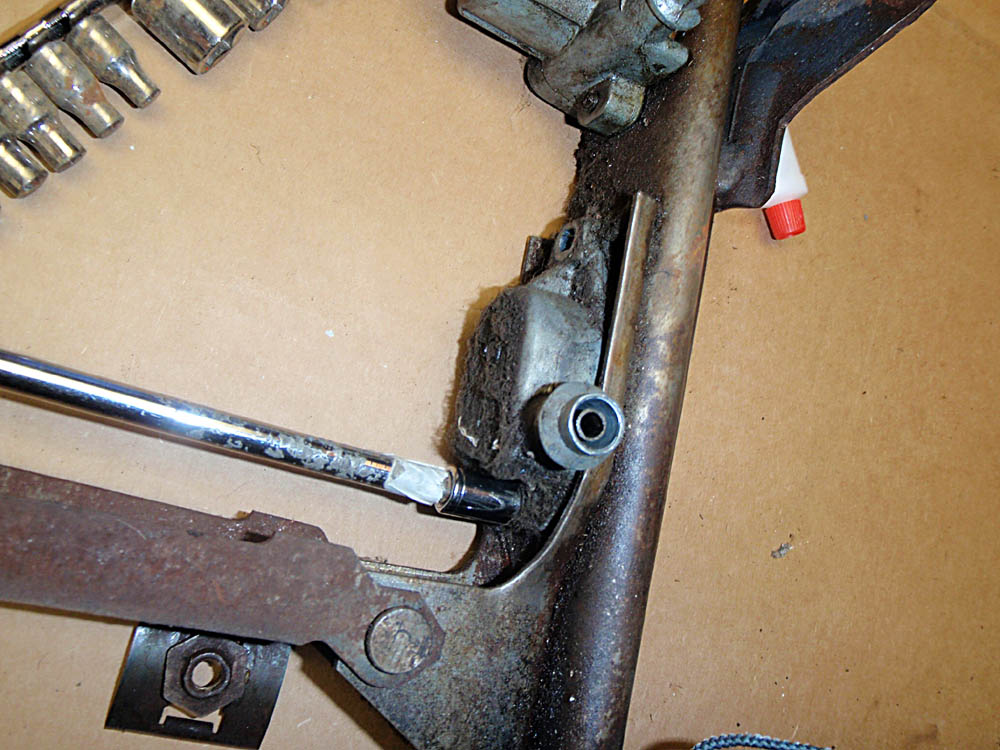
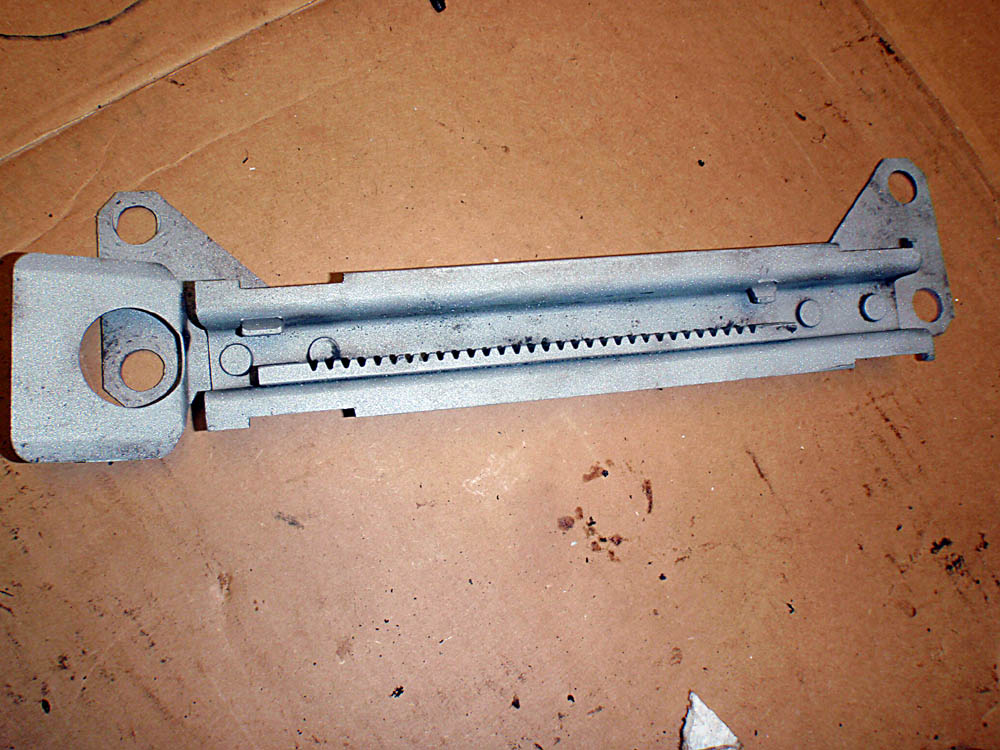
Next remove the middle gear unit. This is the one that controls the back and forth motion of the track. Once removed it will allow you to slide the bottom track out to access the gliders.
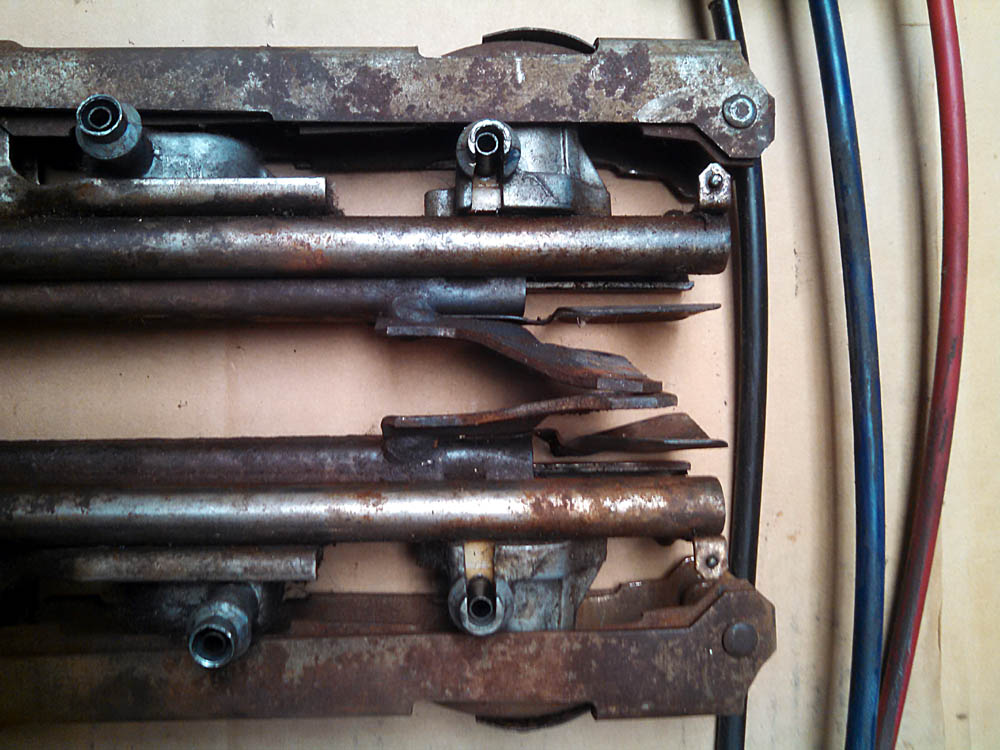
On this track I already know they're broken or missing by all the slop.
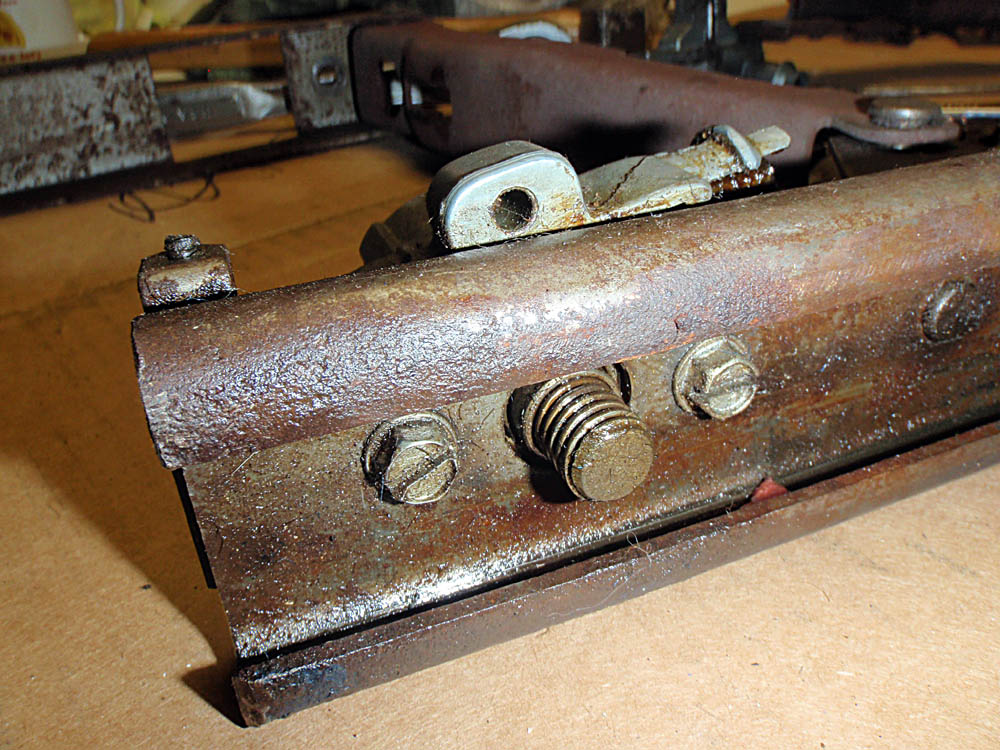
You will need to tap the lower part with a hammer to remove. I've found that is it easier by sliding it out towards the front side.
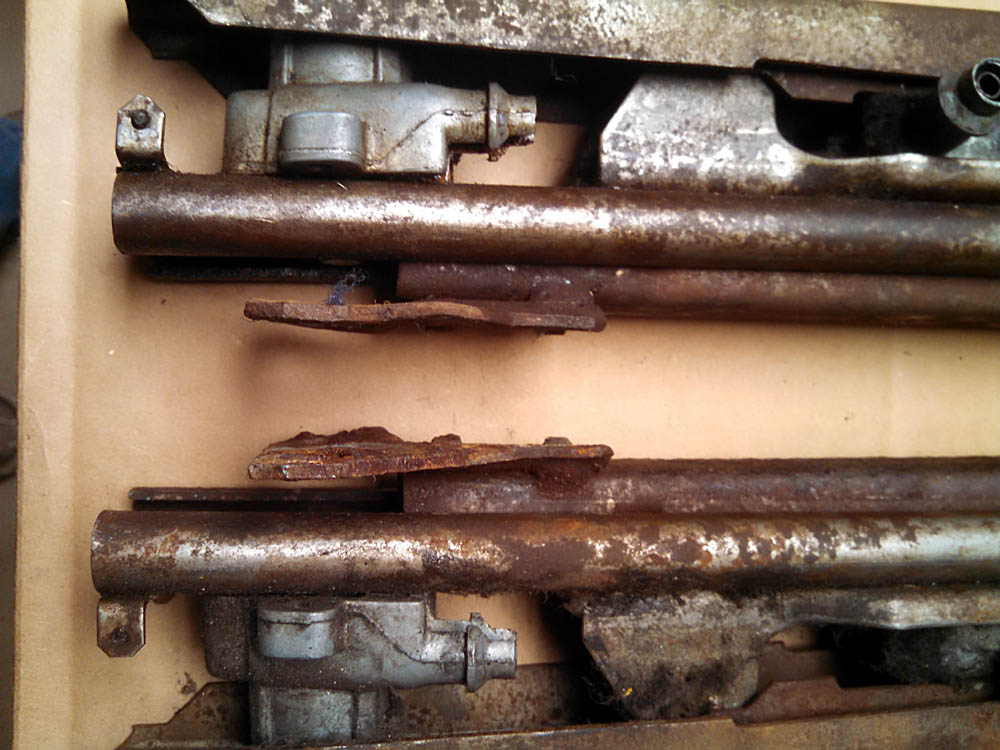
The back part end may be more distorted and a tighter fit. Yep, all the gliders are broken....
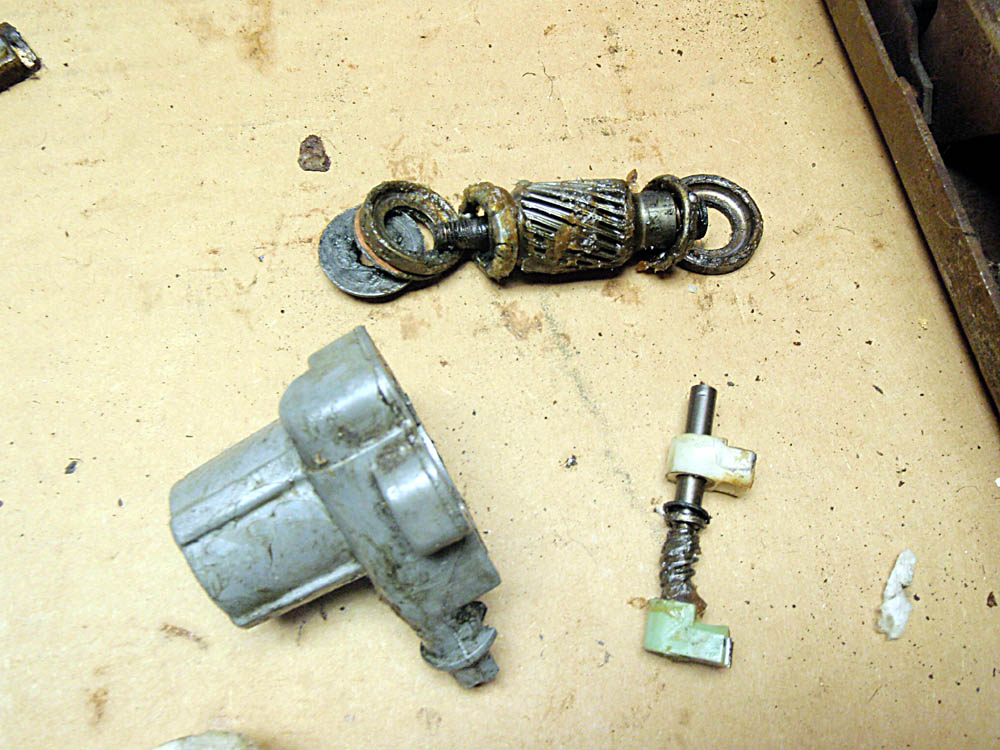
You can see a piece of glider still in the track. Next it's time to remove the other gear units. This is the one for the rear. It is usually offset, while the others are angled at 90 degress off the track.
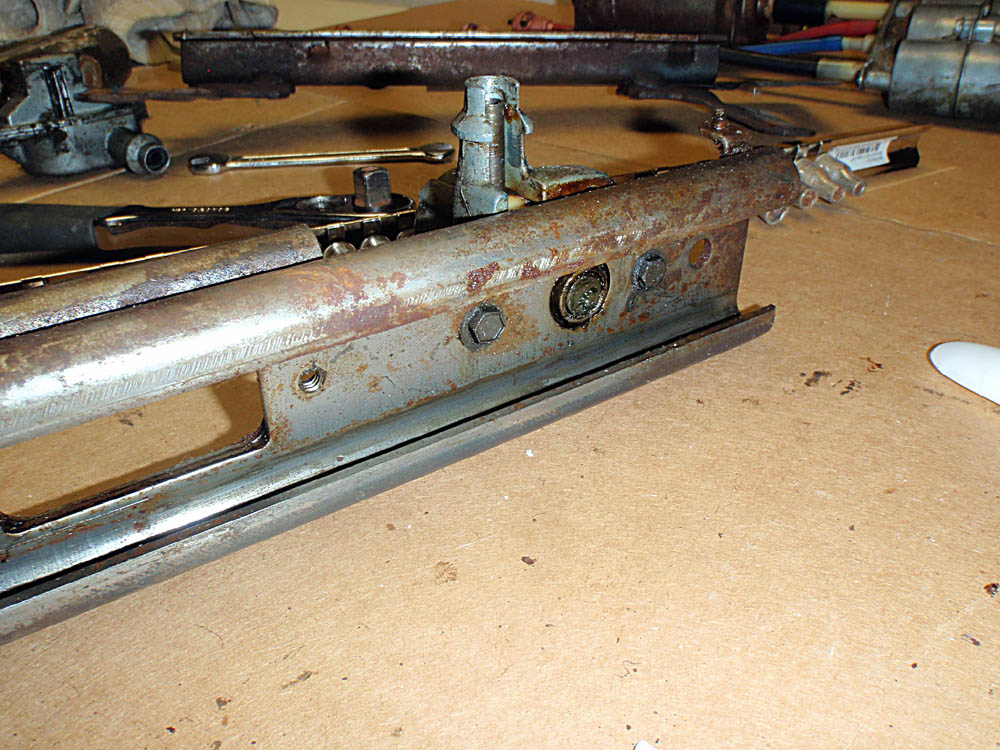
Front side..
Once seperated, I was able to straight the feet using a vise and hammer. This unt has metal covers in the front that are welded to the track.
Usually I've only seen plastic ones that slip between the feet and the track. This piece needed to be bent up to straighten the feet.
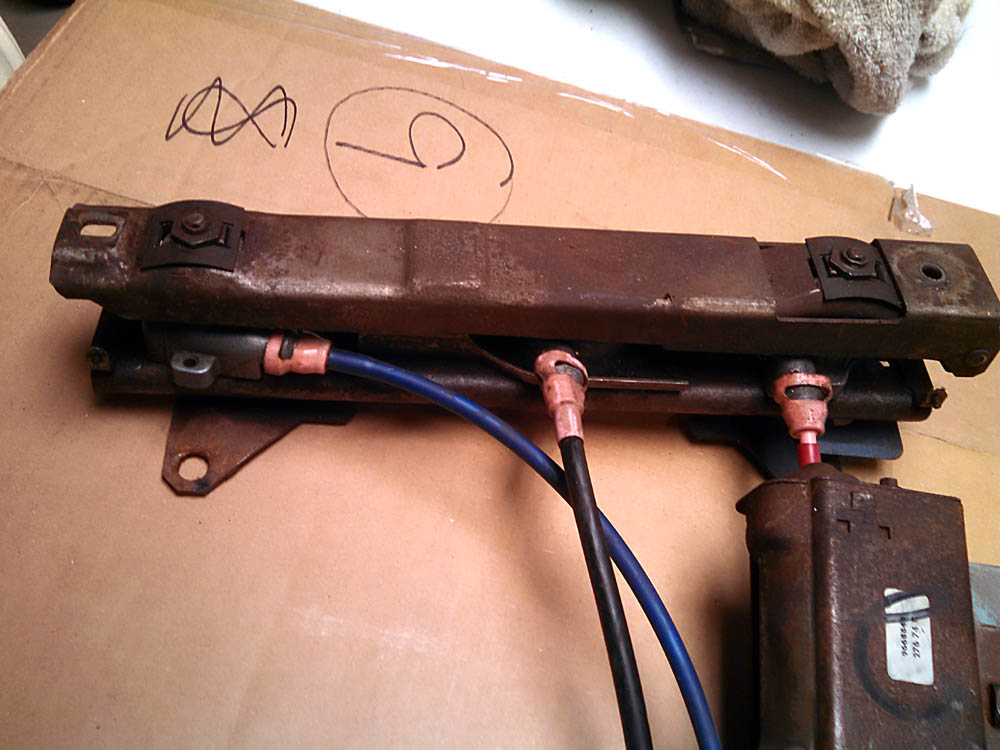
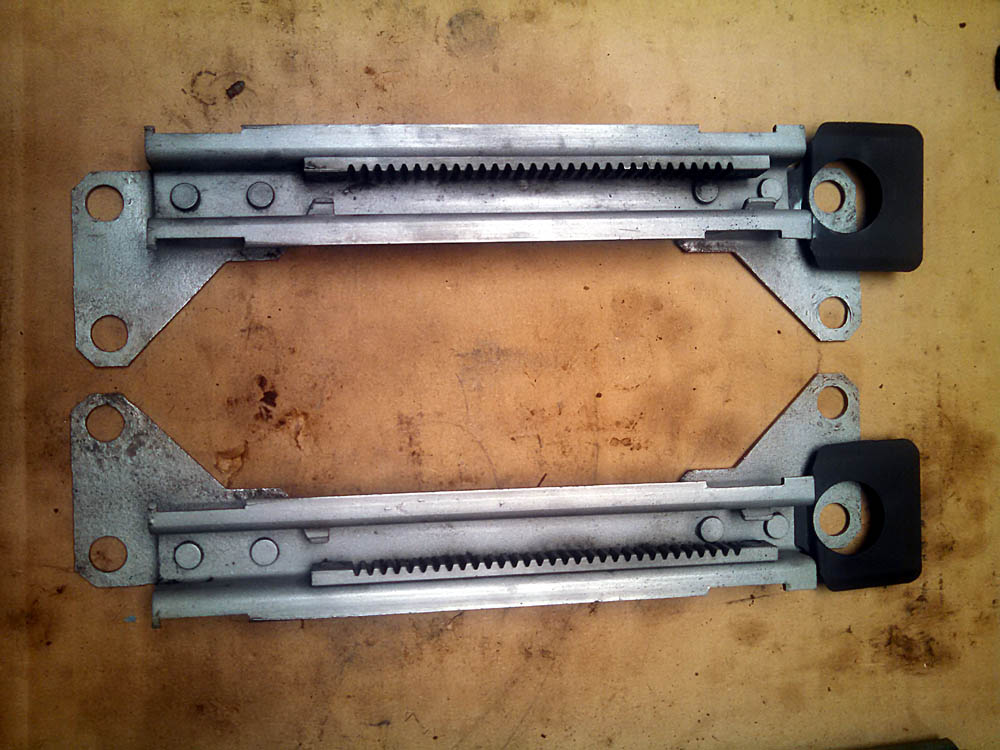
Cleaned and sand blasted. Looks a bit better than where I started.... Now time to address the gliders.
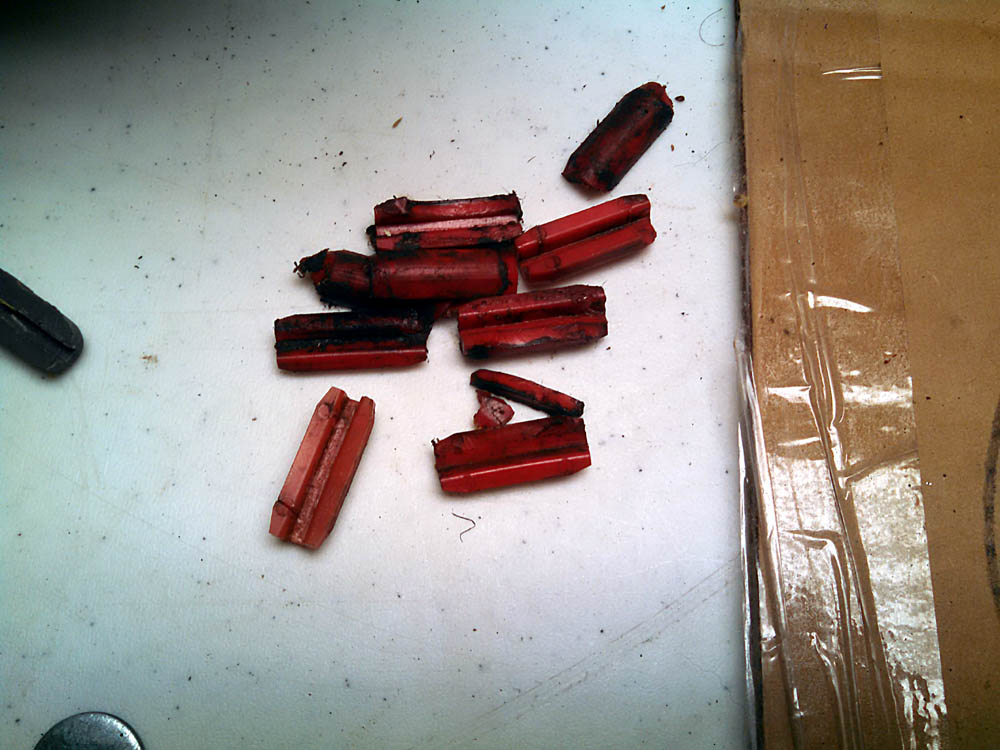
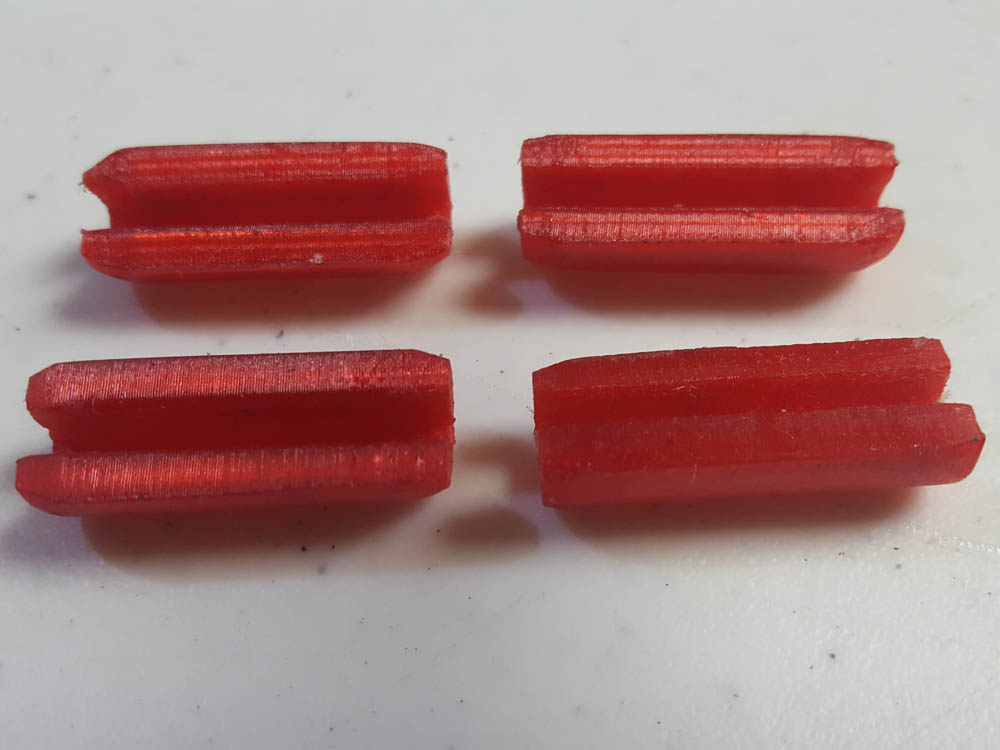
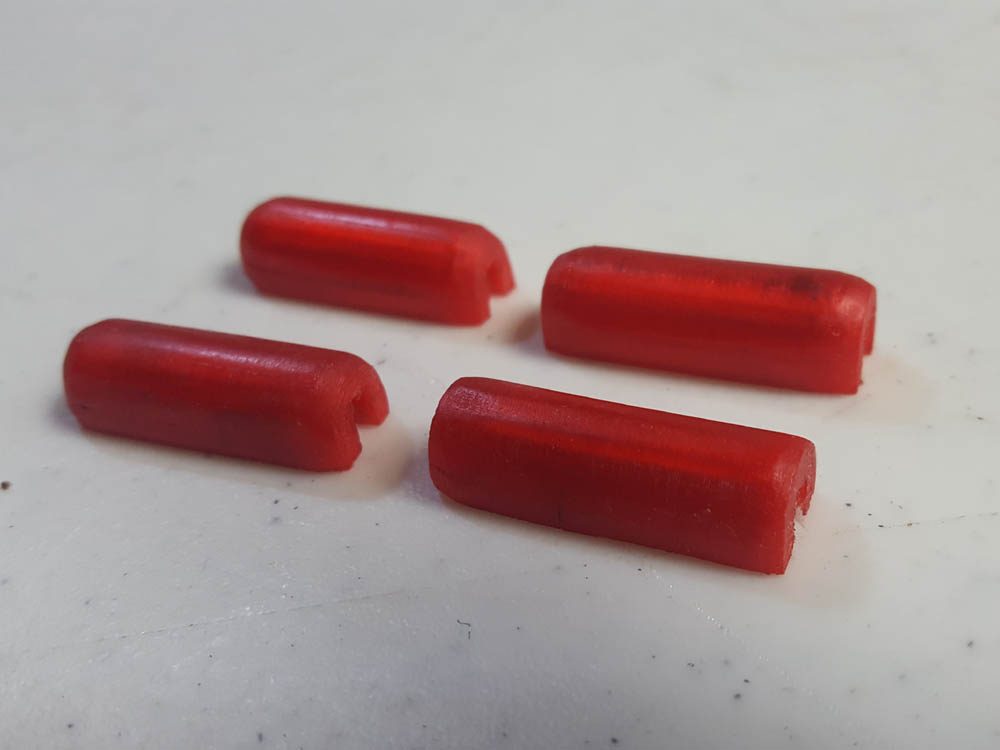
None of the gliders are usable for the track. I have been printing new gliders using ABS - R plastic, with very good results.
These along with new cable clips are available for sale on this site.
.
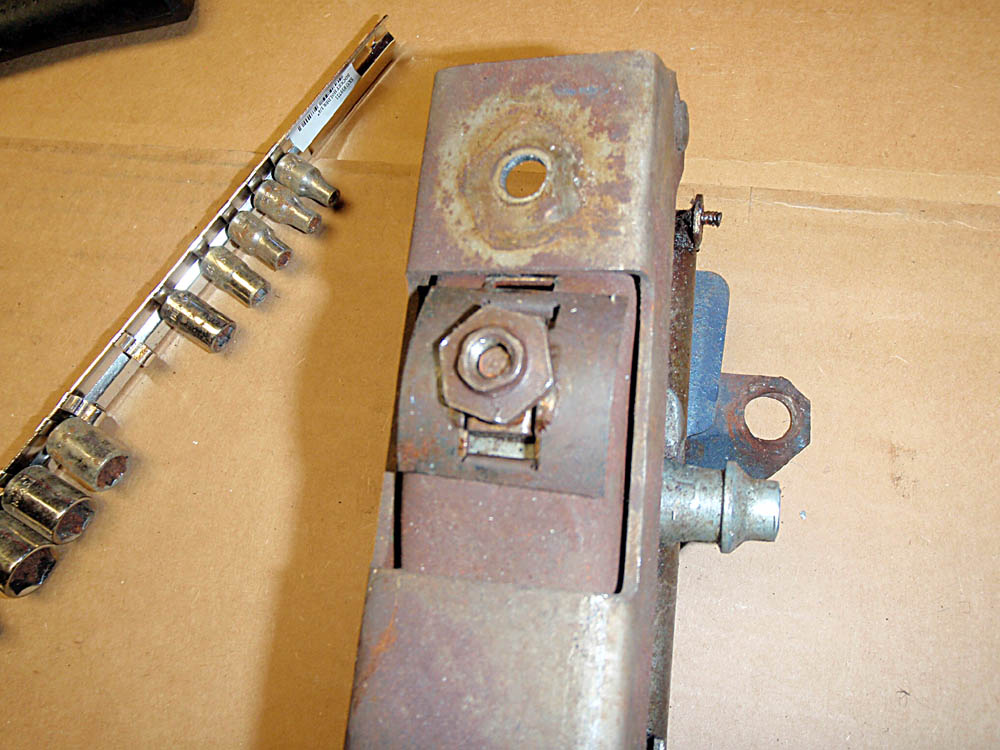
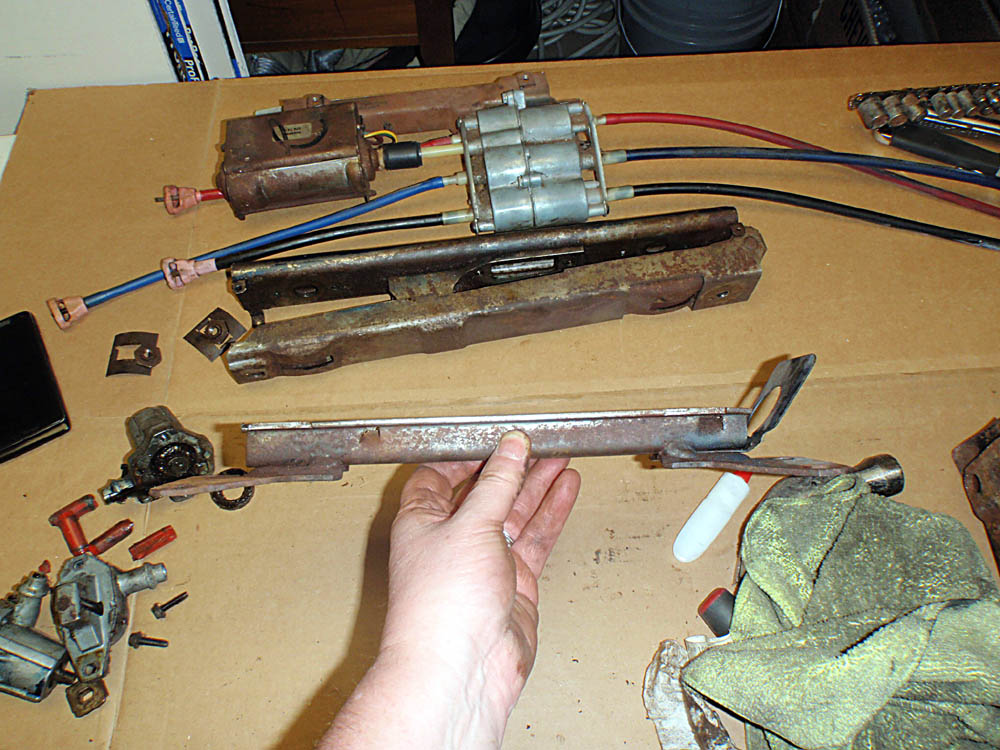
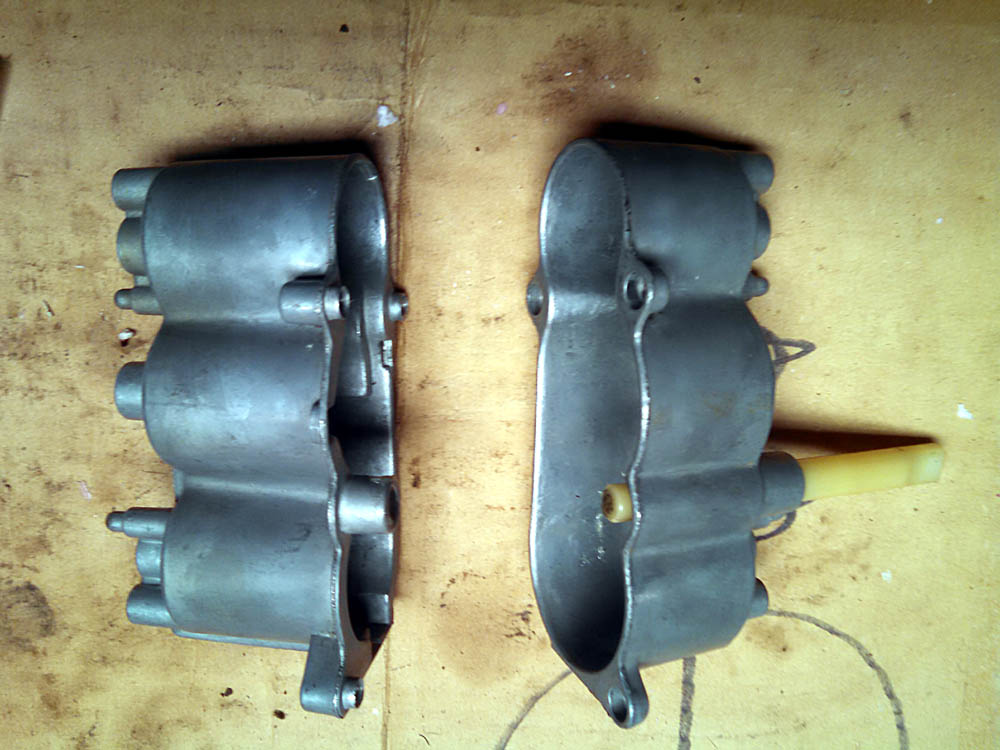
Now on to the gear drives to find out why part wasn't working...
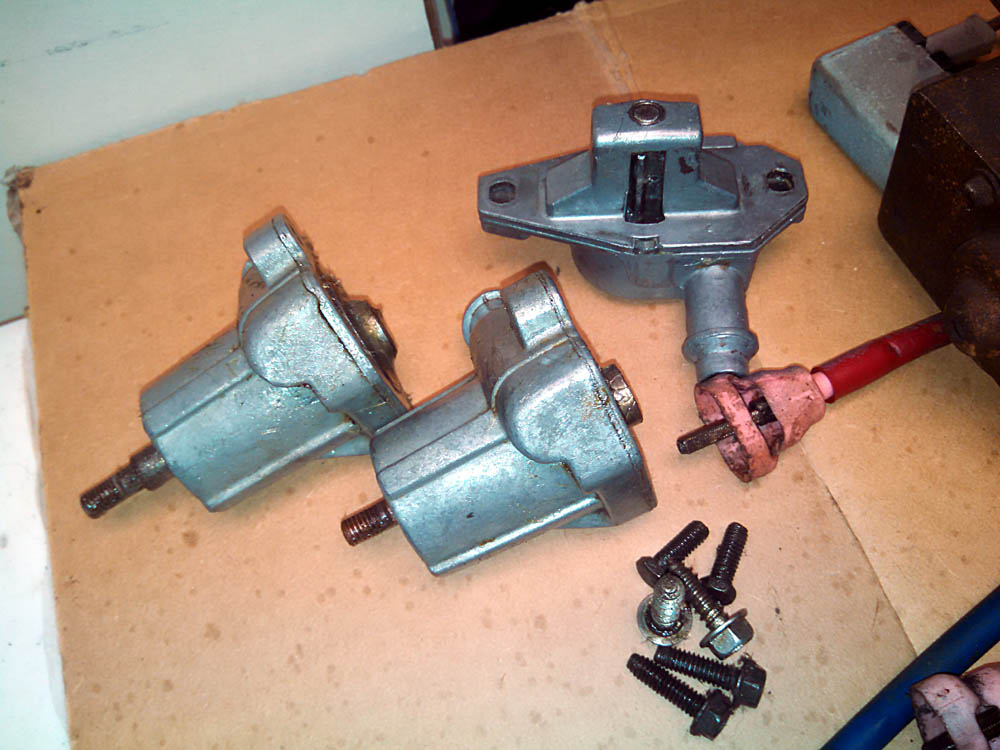
Not bad on the outside.
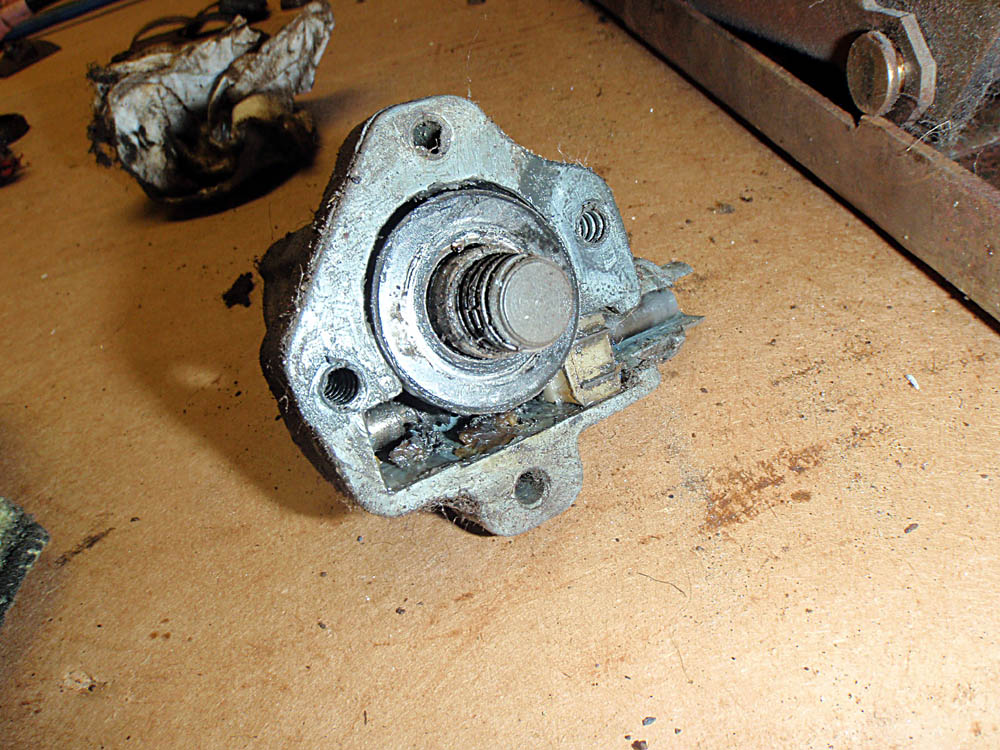
Here's the problem! Inner plastic bushing is missing! Where is it? Maybe never there? No trace anywhere.
NICE! Thankfully I don't throw anything out and have replacement parts for just about anything for these tracks!
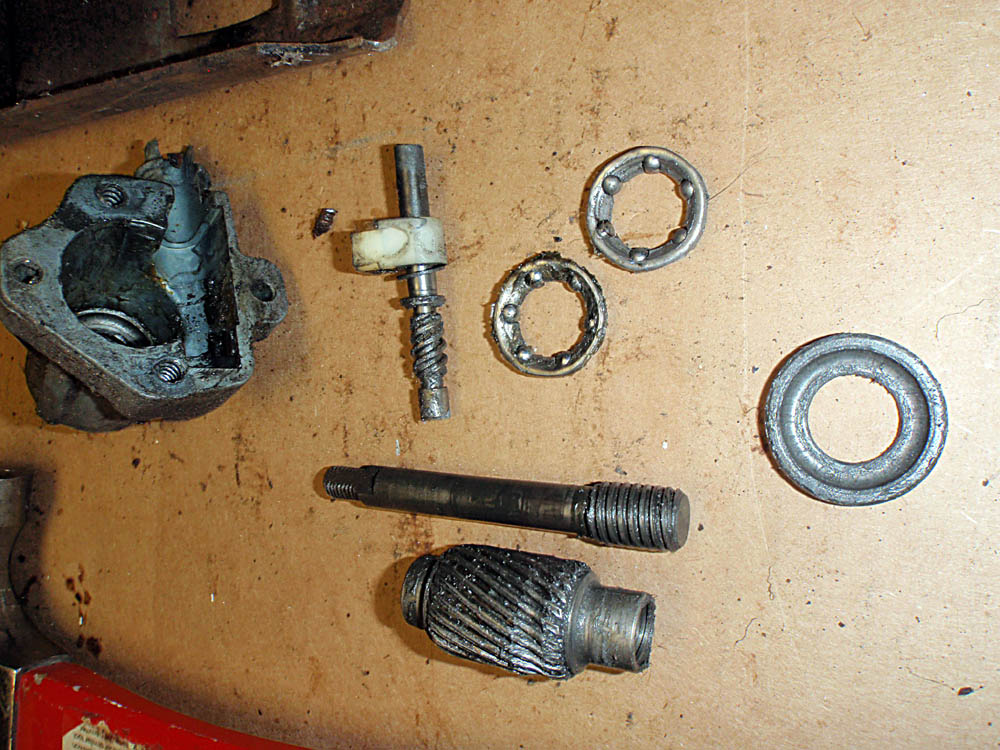
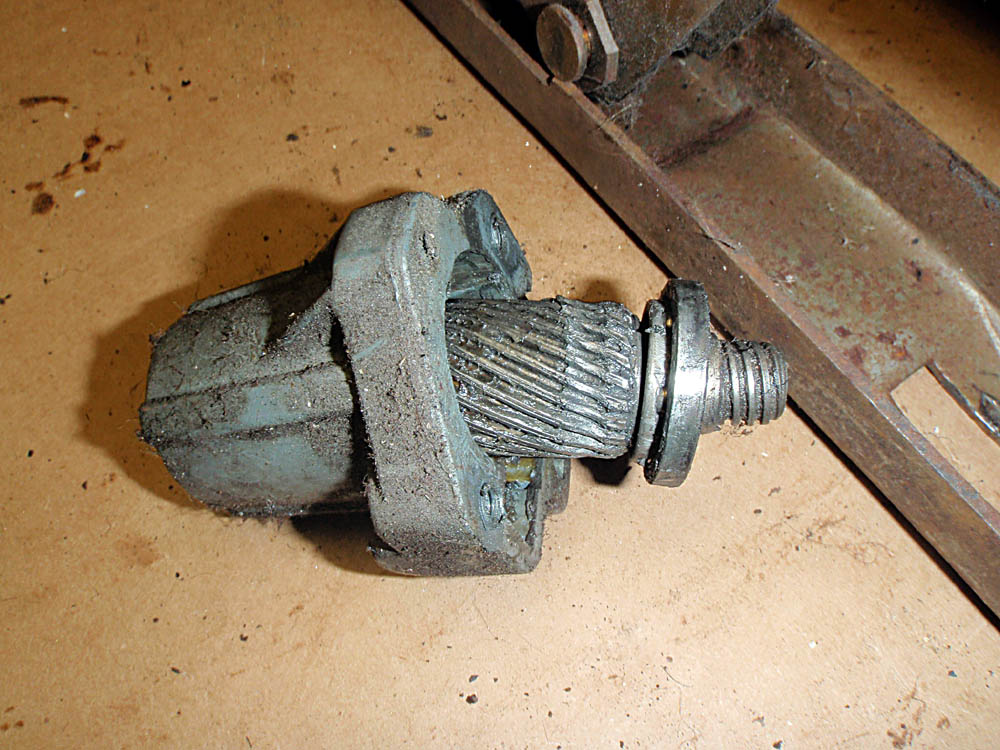
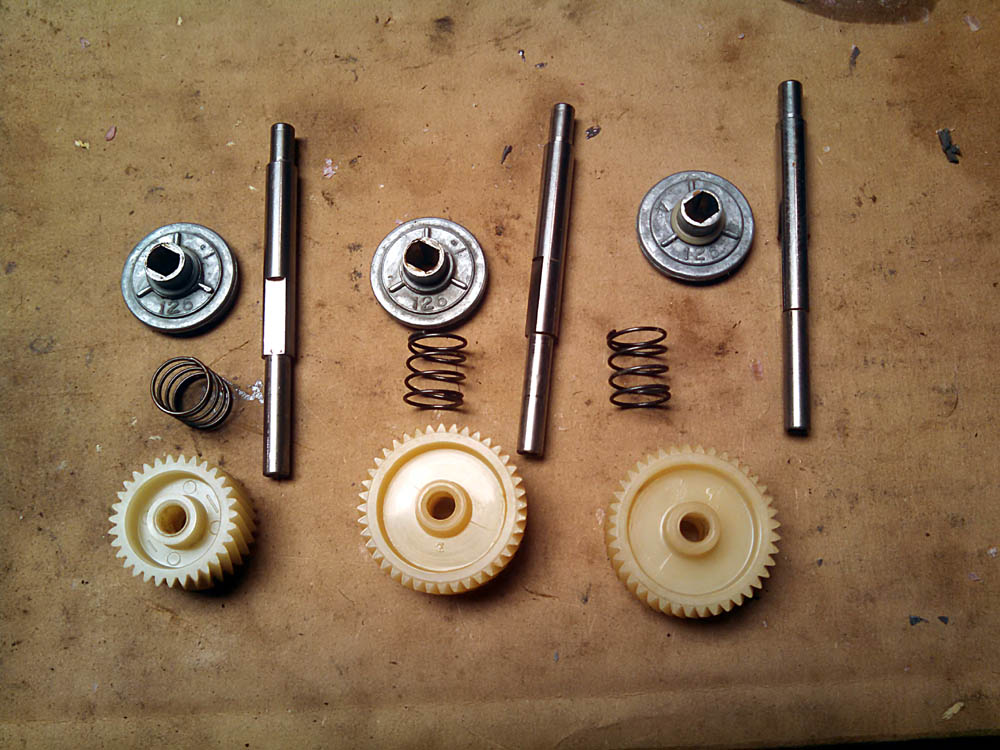
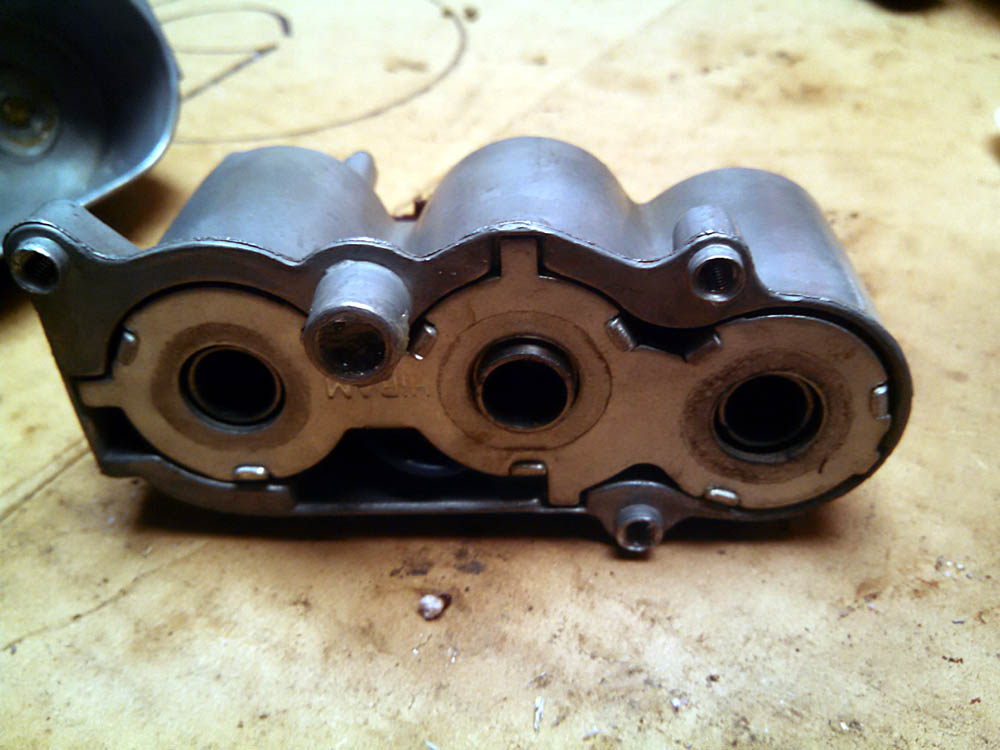
Yes, needs a new gear and bushings.
Because the one side was broken, the other side was grinding and the gears will need to be replaced. After cleaning, they with be reassembled with new grease.
Transmission appears to be in good shape. I will check and regease all the nylon gears inside.
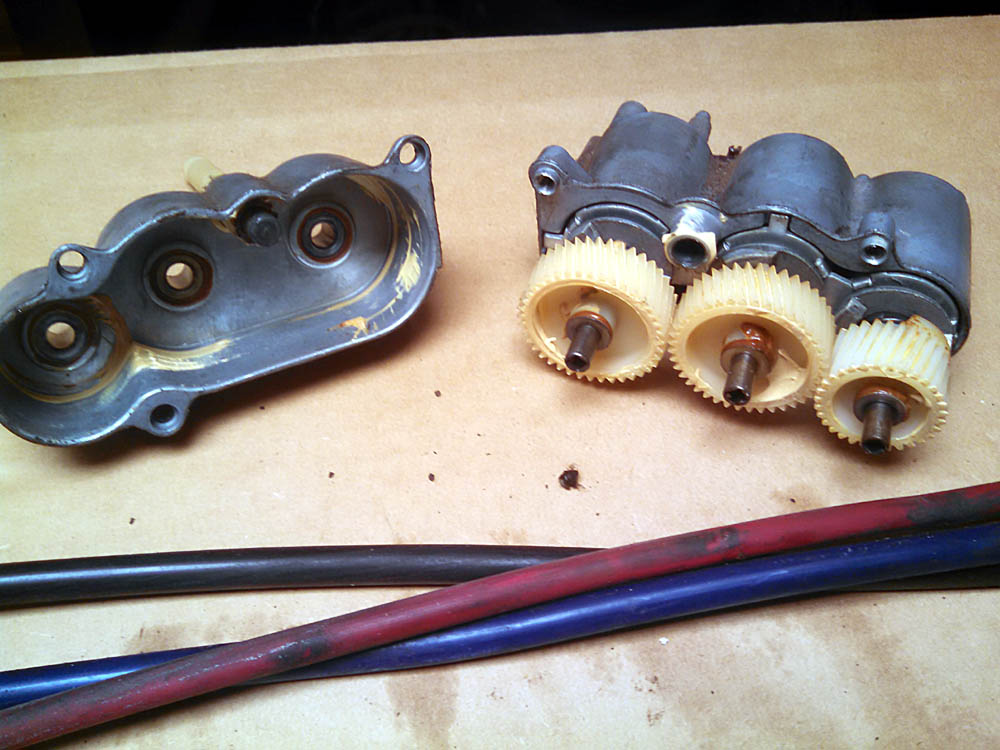
Gears all in good condition!
Cleaned and ready for re-assembly.
Housing cleaned.
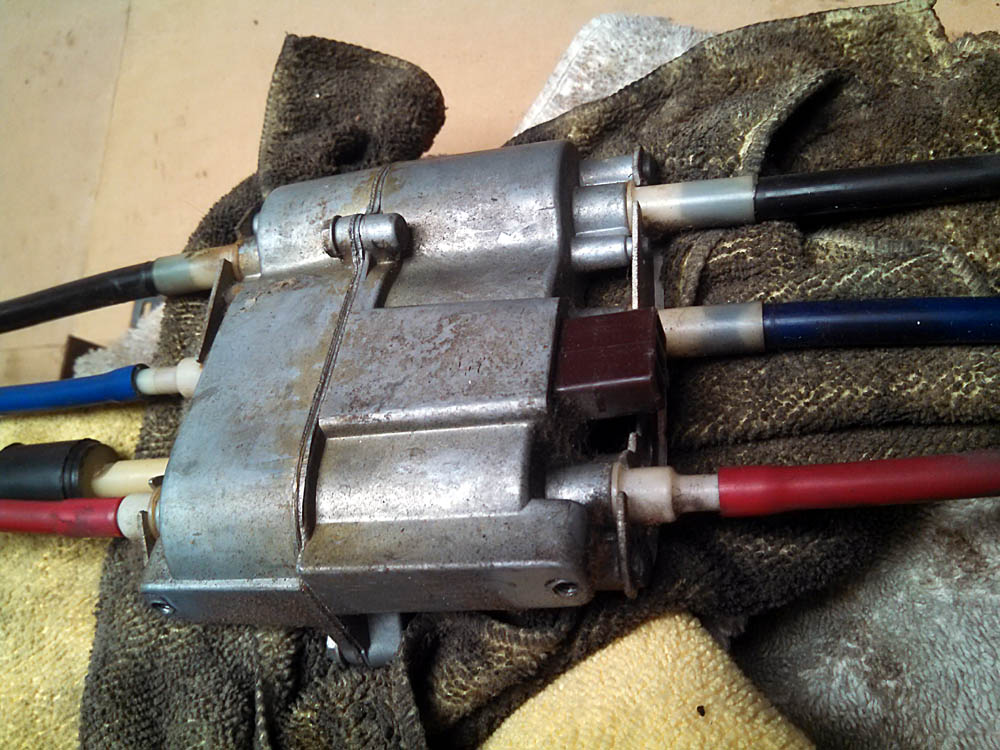
The solenoids were all in great shape. Just needed a quick once over...
Re-inserted the solenoids...
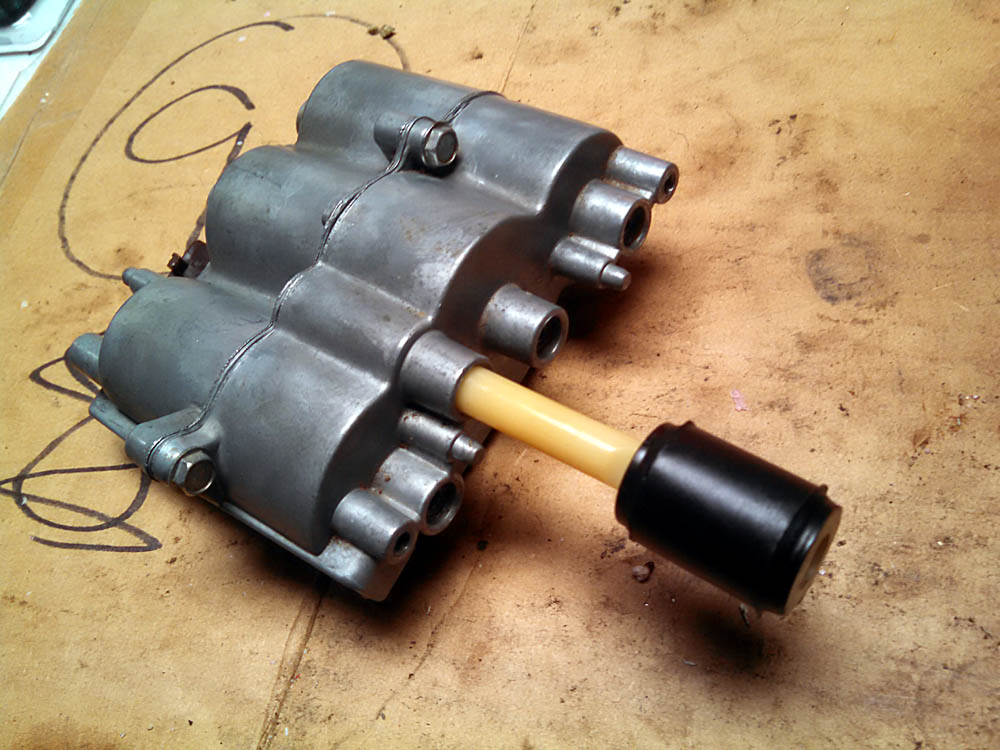
Ready to go!
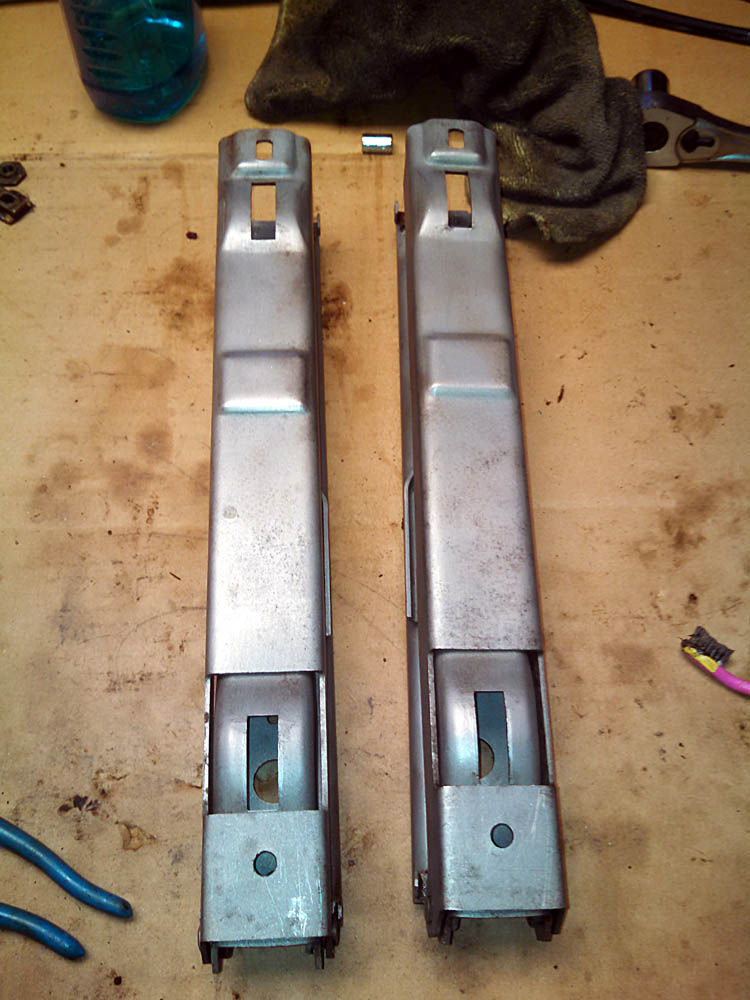
Upper tracks cleaned and sand blasted.

Braket to mount motor and transmission.
Lower track mounts looking good.
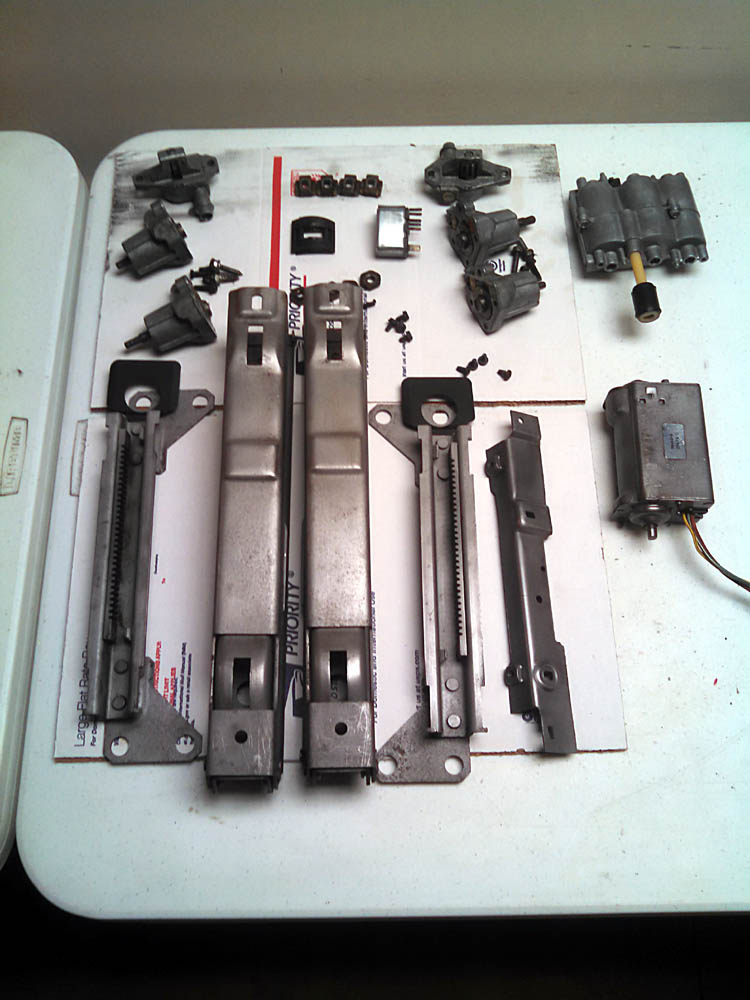
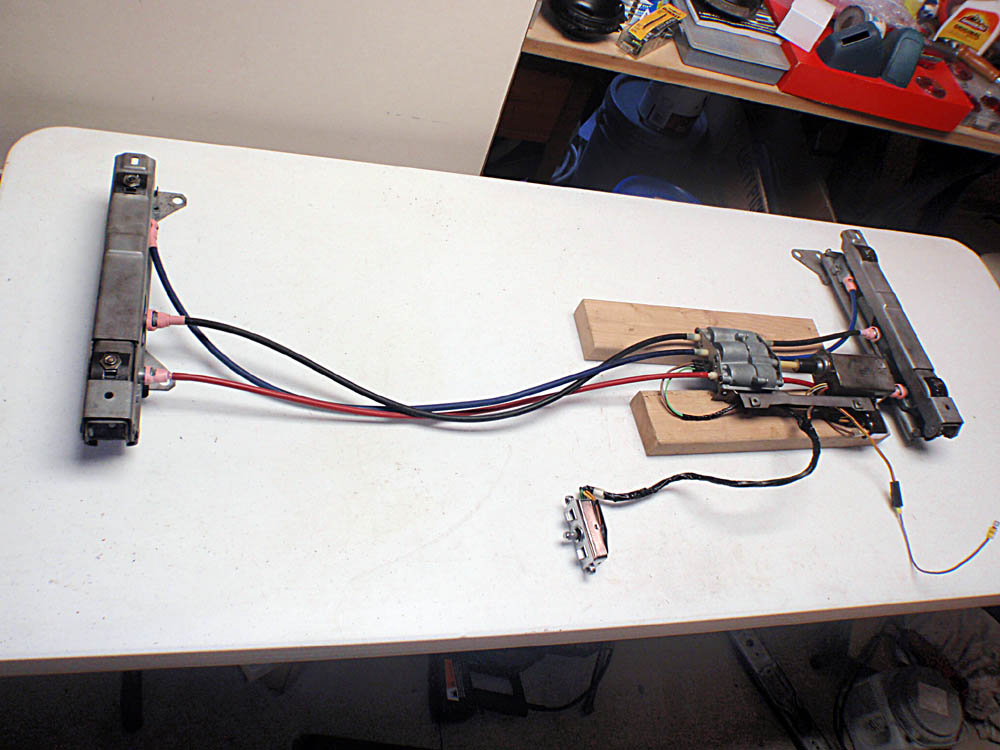
Everything ready to go!
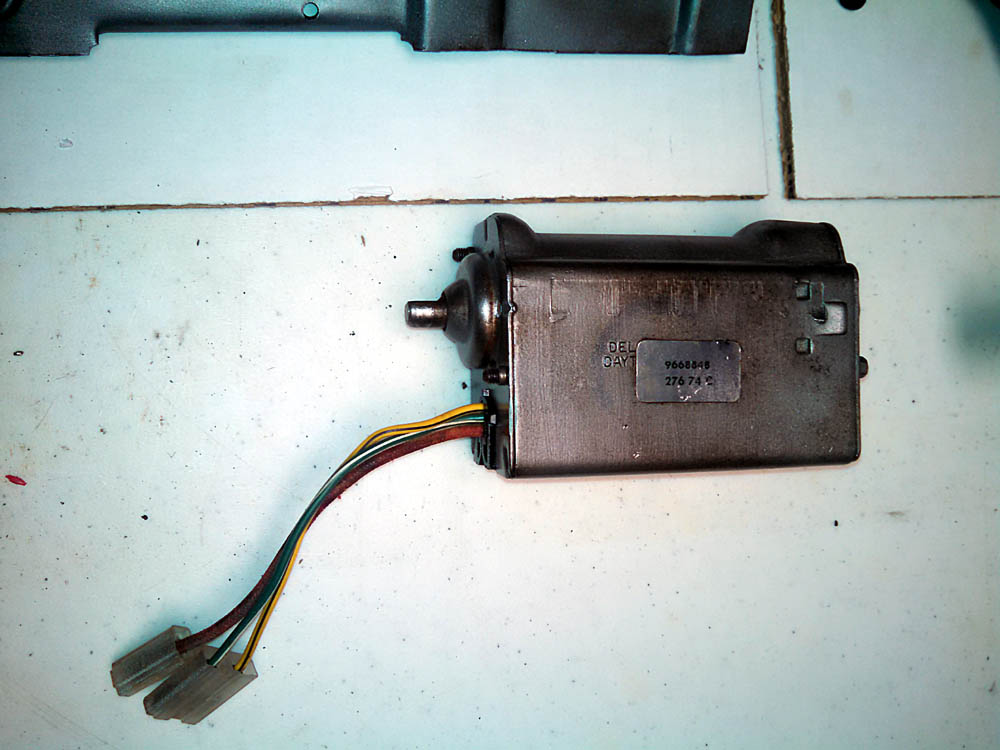
Motor cleaned up nice too, was able to save the sticker on this one...
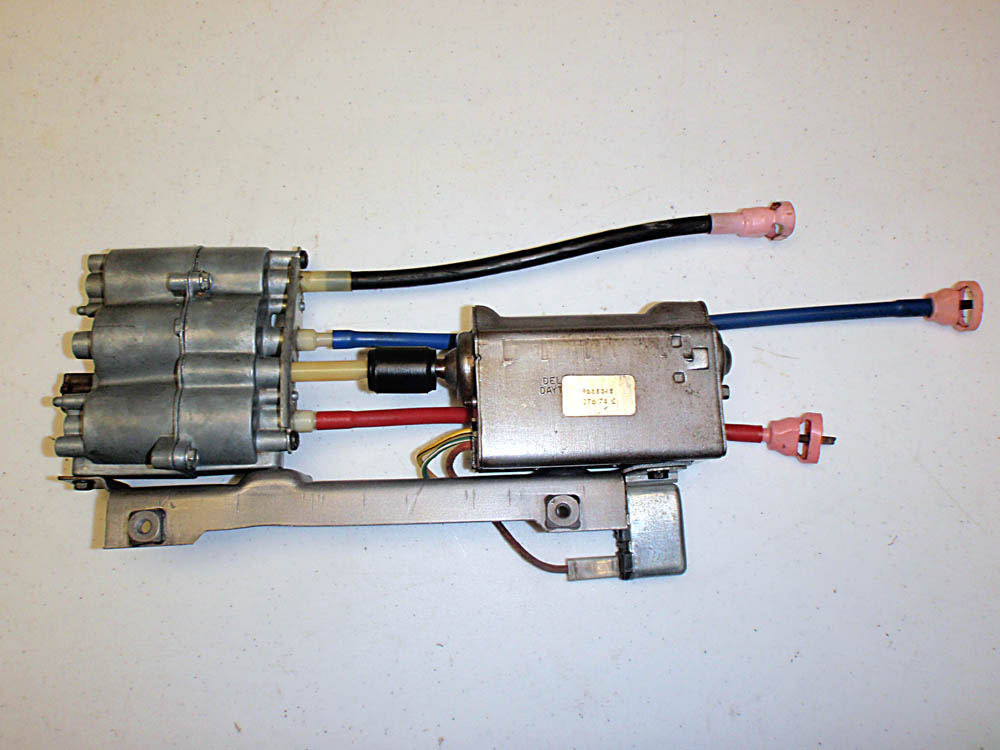
Drive assembly looks a bit better....

New gliders installed.
Regreased and reassembled passenger side track. Now test it to make sure there is no binding.
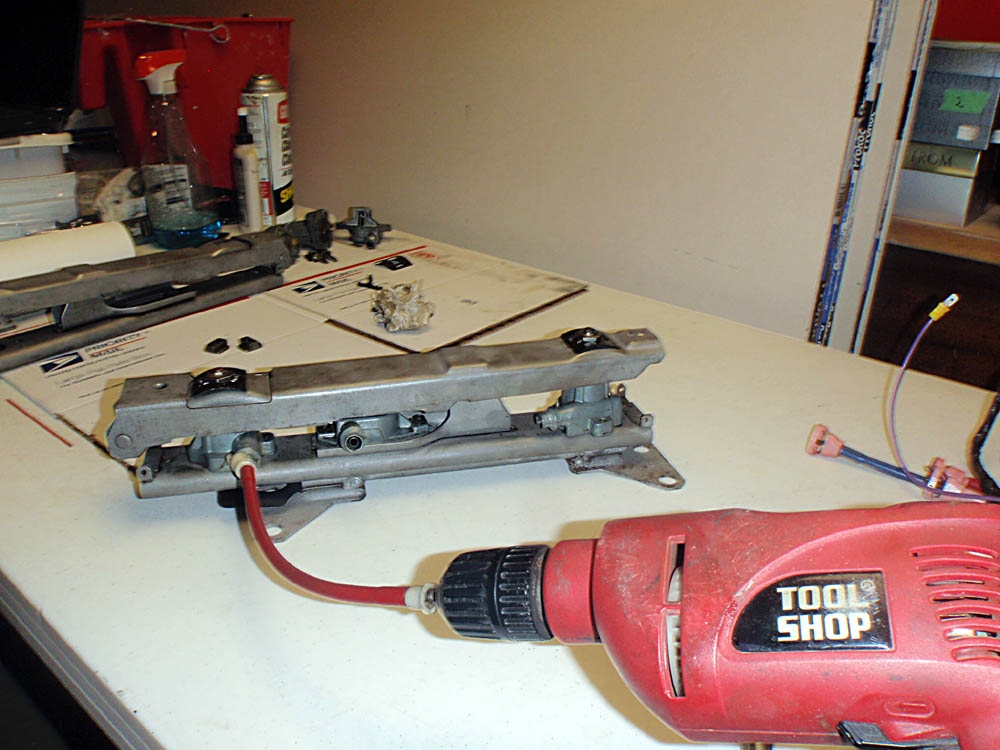
I use an old cable and drill to run the tracks through their complete range of motion. Be careful not to run the drill too fast as to not damage anything when they've reached their full range of motion.
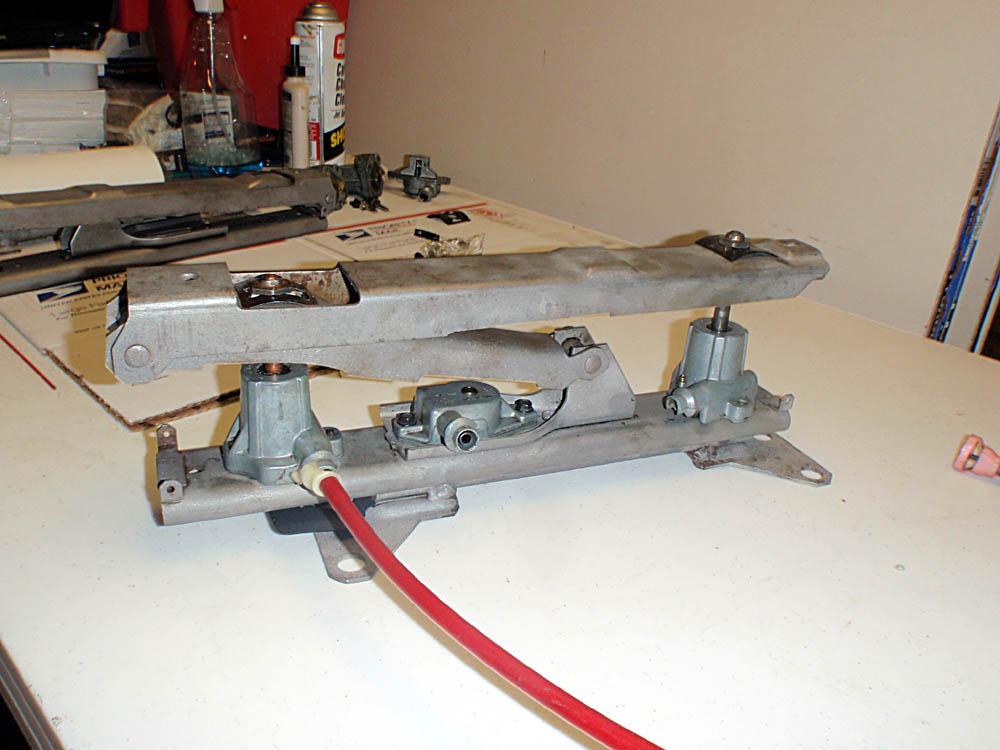
Works nice, no binding....
Driver's side ready.
Passenger side...
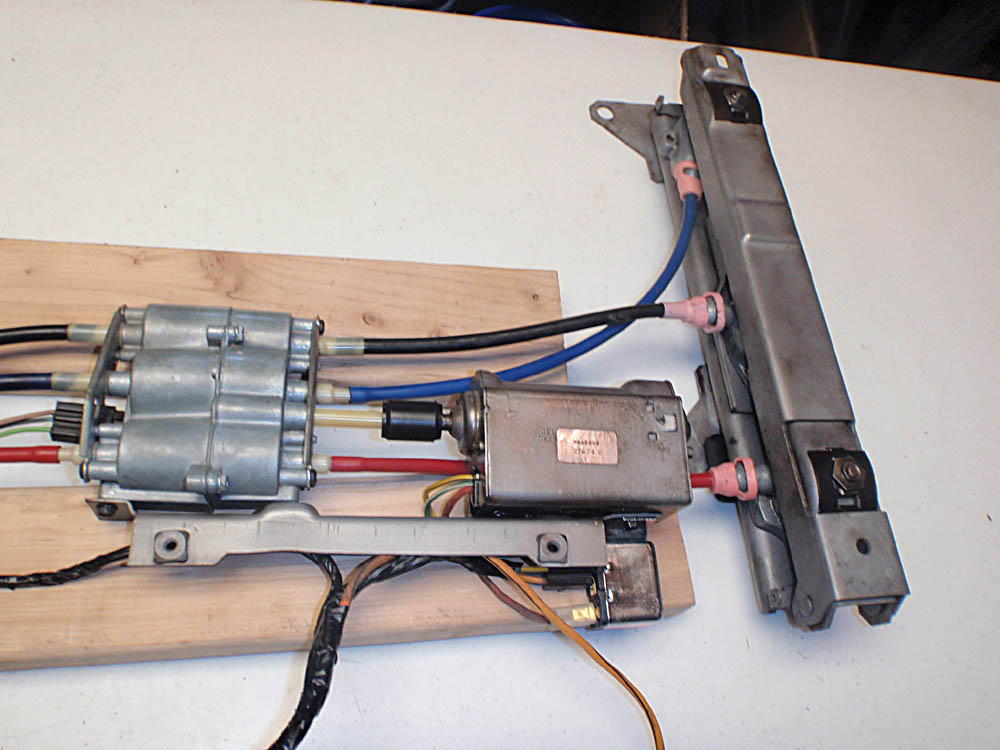
Completed unit. When I first tested the motor and transmission, I found the relay to be very weak.
The solenoids were actuating, but not enough power to effectively run the motor. Once a new relay was installed, the unit operated smoothly in all directions.
The only problem at this point was the switch itself.
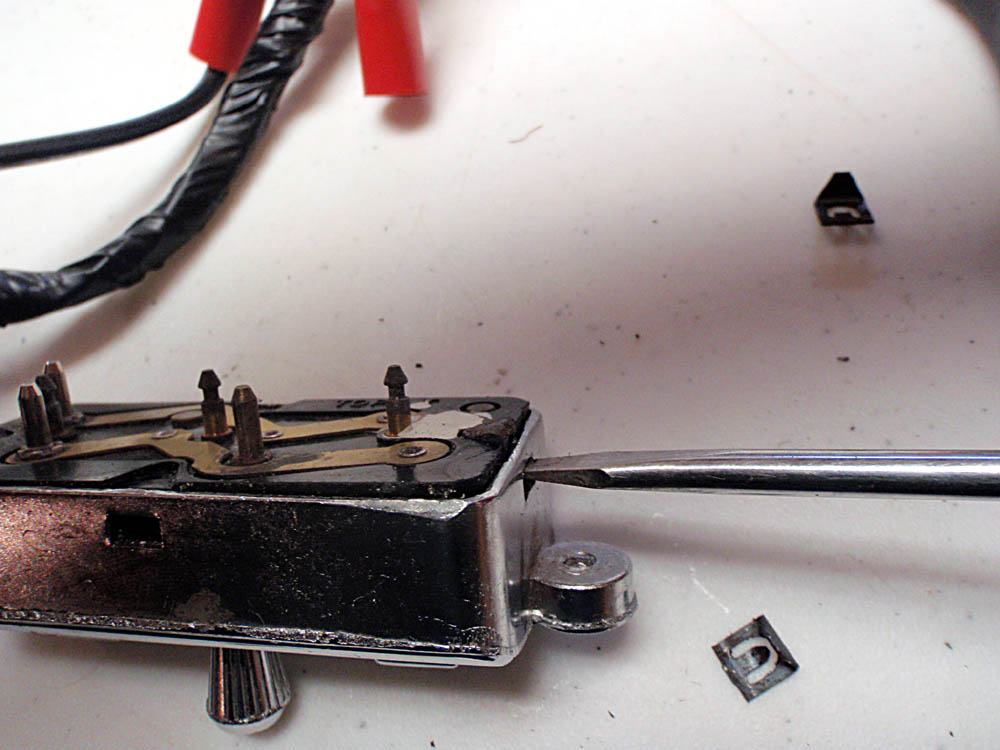
It was intermittent at best. So I opened it to take a look....
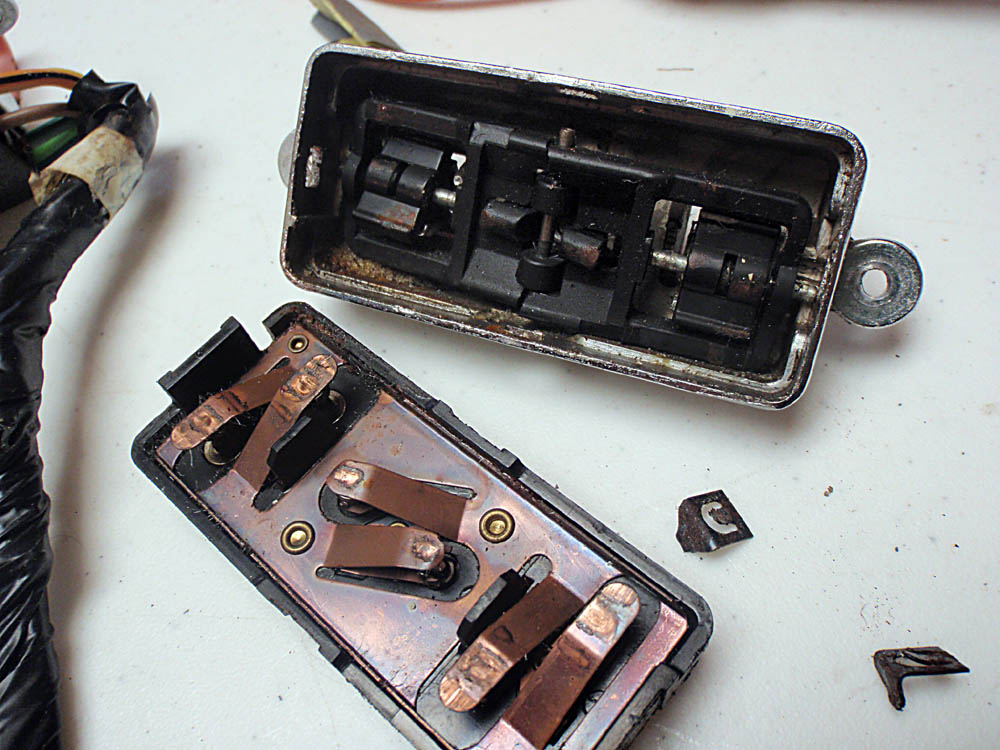
Doesn't look good....
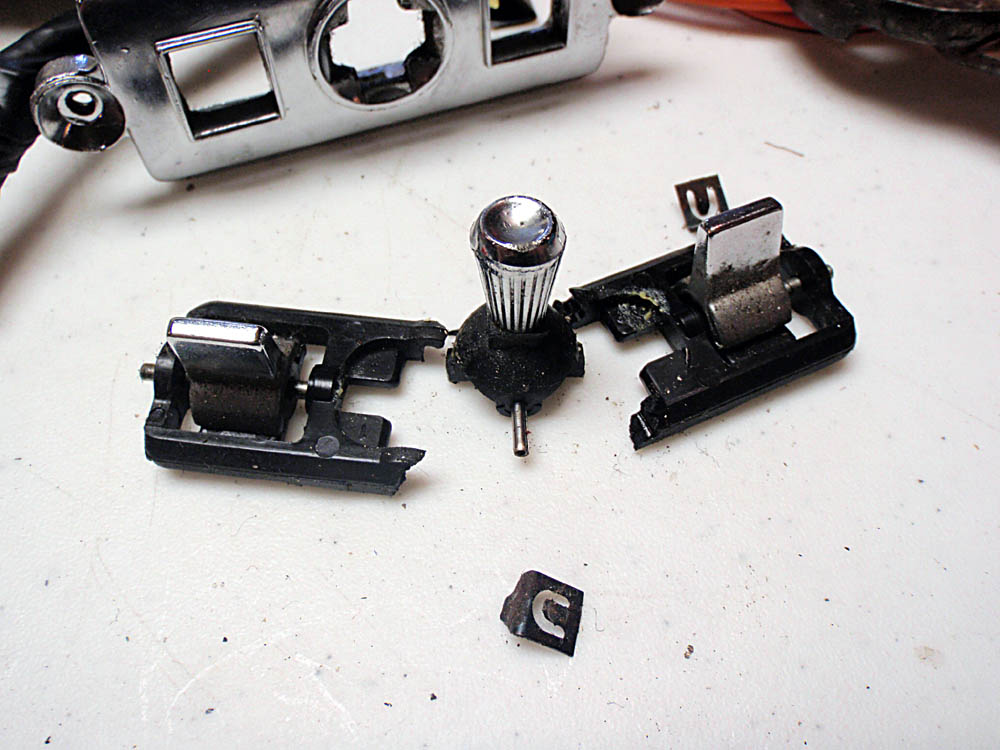
Not supposed to look like that!
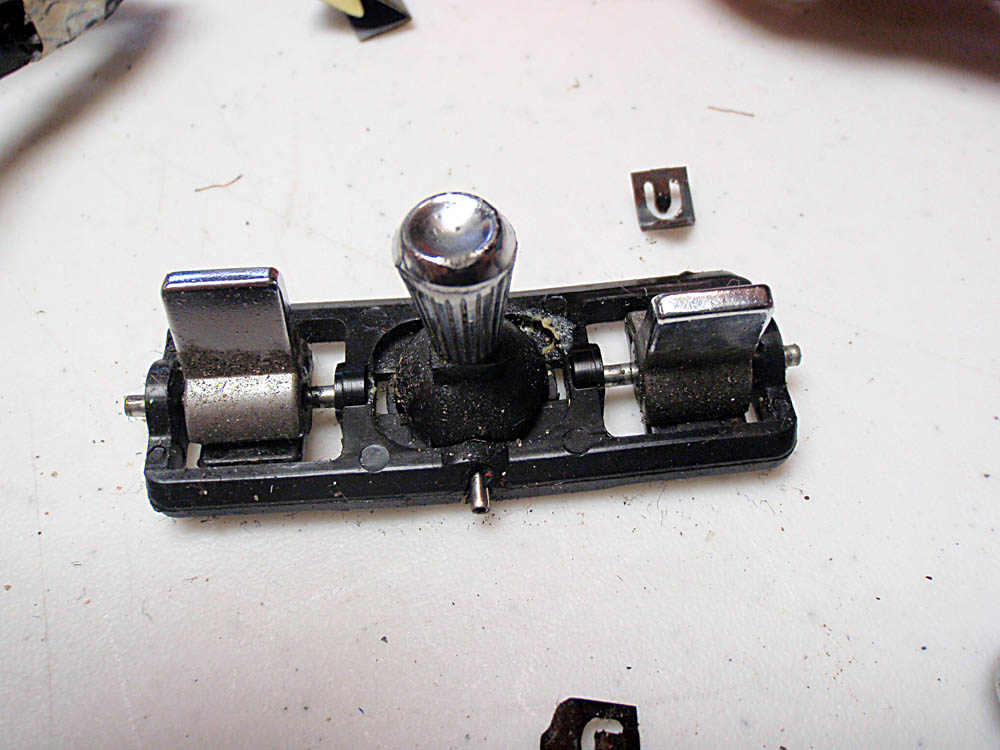
Spare!
Cleaned up and inserted in switch...
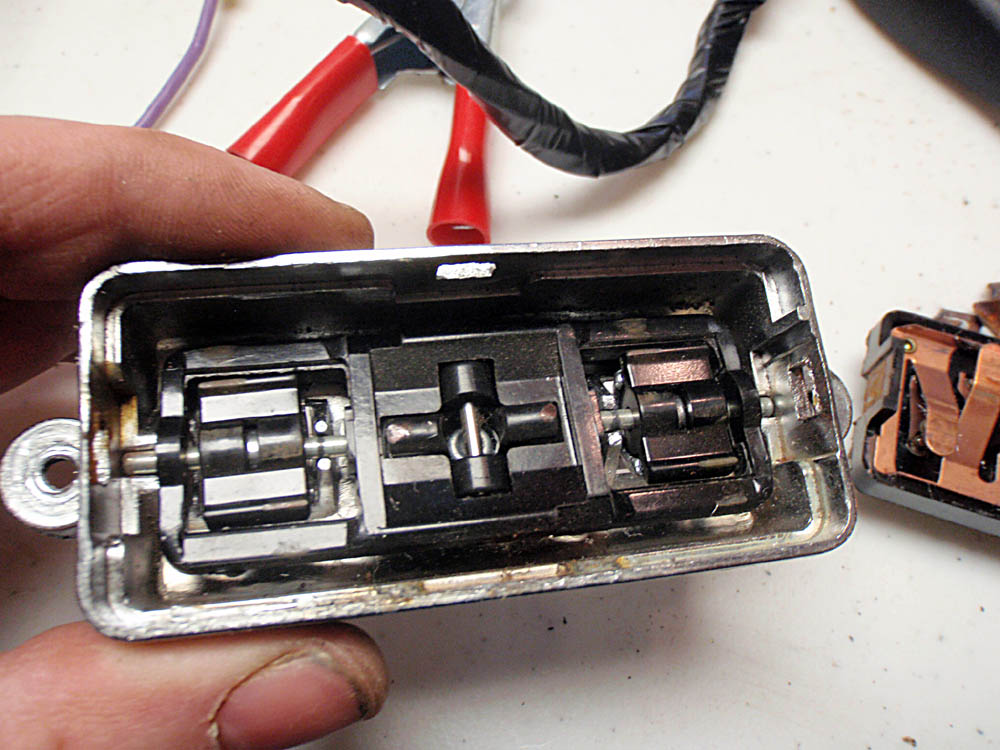
The unit performs perfectly and I do intend to find the plastic trim pieces and put this unit up for sale. I will include the chrome seat panel where the the switch mounts as well.